Fern reproduction - scheme and description
Content:
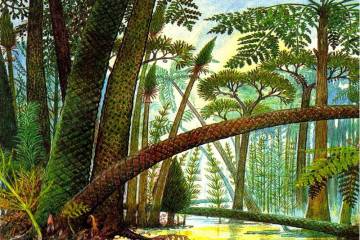
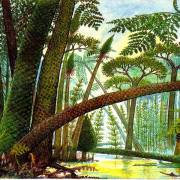
Ferns are plants that have lived on Earth for hundreds of millions of years. During this time, they practically did not change their structure, only decreased in growth. By their example, people can see how life was formed on the planet. These plants have failed to develop the ability to blossom and bear fruit, and no one will ever be able to find a fern flower in full bloom.
What is fern
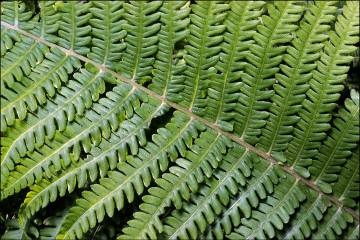
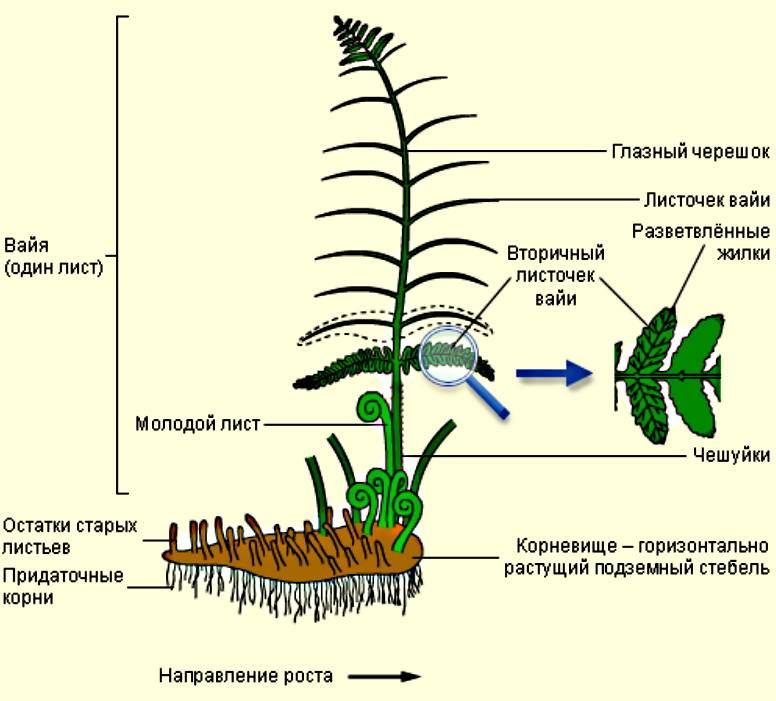
Along with the usual plant organ rhizome in ferns (Polypodióphyta), instead of stems, leaves, peduncles with seed pods, a leaf-like shoot developed, which received the scientific name frond. Spores form on fronds, with the help of which one of the ways of reproduction and development of ferns occurs.
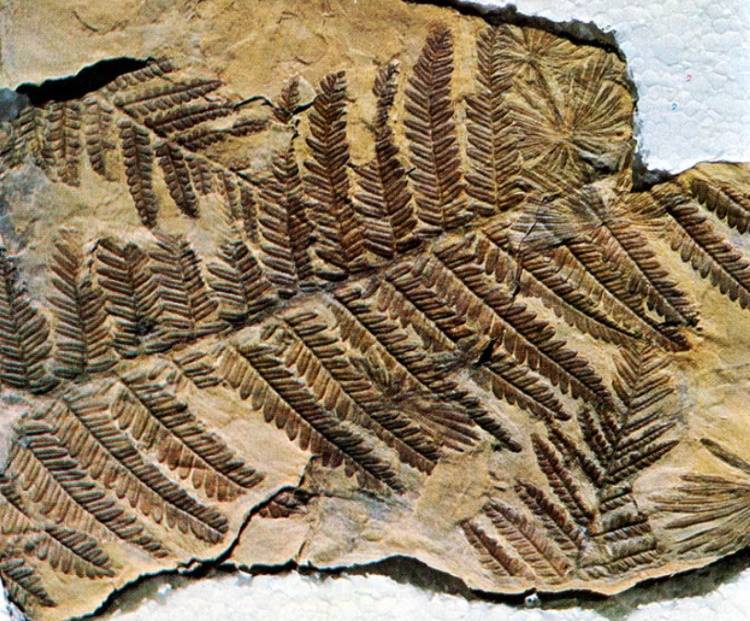
Fern print on stone
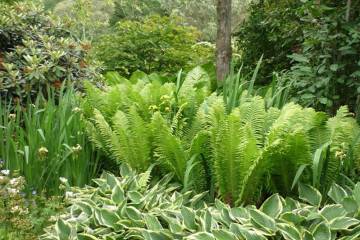
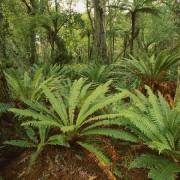
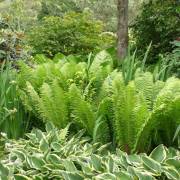
Currently, about 10 thousand perennial fern species have been identified on Earth. In the temperate climate of Russia, they grow in moist shady forests, they are grown as a garden crop. The most widespread European species of Polypodióphyta are the ostrich, bracken, and shrimp. Bracken fern is harvested in early spring, soaked, dried and used as a food product.
The tropical species Polypodióphyta are distinguished by a large variety of wai, and can have tree-like forms. Some of them grow high above the ground on the branches of other plants. In cold climates, the cultivation and reproduction of heat-loving ferns and fern-like plants (horsetail, lyre) is carried out at home.
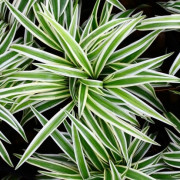
Among the popular indoor ferns, the Aspelium stands out with shoots that resemble a green fountain; Blehnum, whose fronds grow like the leaves of a palm; Nephrolepis is a lover of large free space; Disconia is a tall plant for office space; Platizerium, the fronds of which are like antlers.
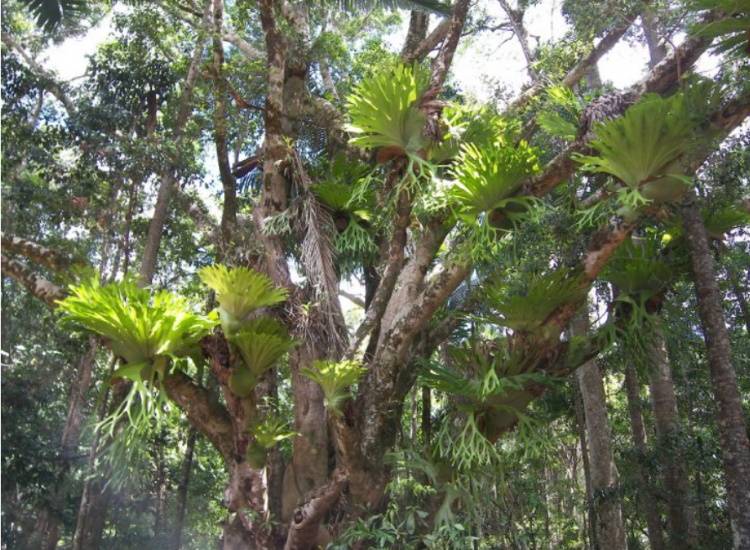
Tropical Platizerium on the branches of a tree
How ferns reproduce in nature
The reproduction of ferns has become a subject of study not only by botanists and plant breeders; students of grades 5-6 in secondary school are told about the spore, vegetative, asexual methods of fern breeding with diagrams and descriptions.
Spore reproduction of Polypodióphyta is subdivided into two cycles. They involve two genetically identical species of the same plant. At the first stage, frond grows from the rhizomes, sporangia form on the lower surface of the shoots, and spores form in them. Piles of sporangia with spores are collected in pouches (soruses). They are clearly visible on the underside of the wai. Spores from them spill out to the ground after ripening.
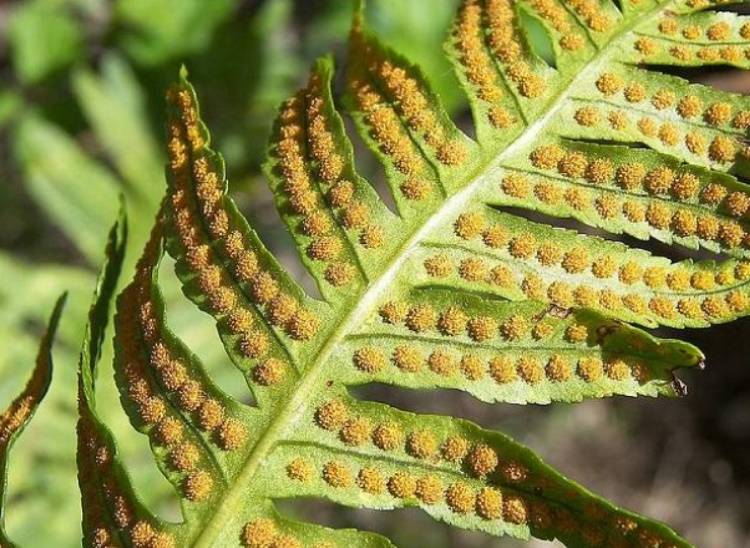
Sori with ripe sporangia on the back of the ostrich frond
At the second stage, a small, thin plant plate is formed from the spores on the surface of the earth - an outgrowth. It contains sperm and egg cells separated by plant fibers. They can unite into a single cell only under the external influence of water.
During rains, mature male cells swim up to the eggs and form zygotes. The strongest of these forms the embryo. The embryo draws strength from the germ, which gradually dies off. The embryo forms the root system, gives life to a new plant.
In some fern species, spores are not formed on all fronds. In the Ostrich Feather fern, spores form in sporangia located on special fronds collected in the center of the plant. They differ in size, tissue thickness, and are collected in a bundle. Some people mistake these branches for peduncles.
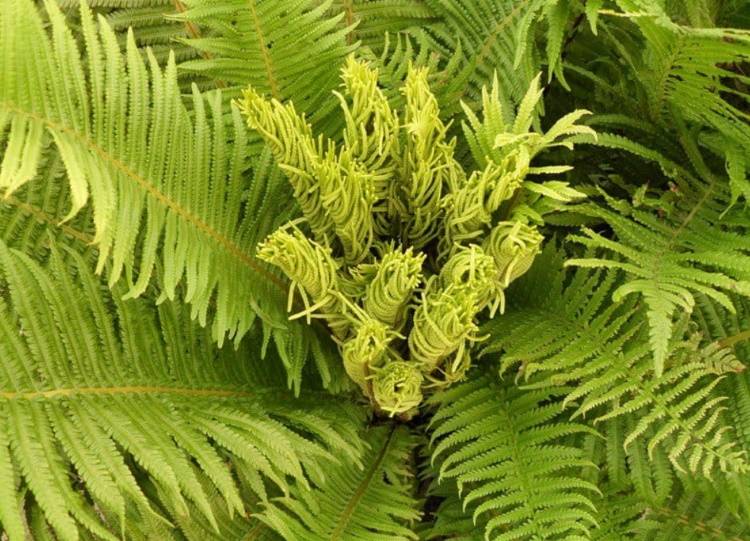
Ostrich with central fronds
How fern reproduces at home
Indoor reproduction and cultivation of Polypodióphyta is possible in several ways - by spores, planting outgrowths and vegetative methods:
- separation of rhizomes;
- rooting shoots;
- separation and rooting of brood buds.
The most common methods of reproduction are spore and separation of rhizomes and root processes. In open field conditions, fern crops are mainly propagated by separating the bushes during transplantation to a new growing site.
The structure of the root system and surface shoots of Polypodióphyta
How to propagate a fern by dividing a bush
Separation of root shoots and rhizomes of plants in the garden is carried out in spring or early autumn. Indoor overgrown ferns can be propagated throughout the warm period, combining transplantation with dividing the bush.
In the conditions of the garden, a site is preliminarily prepared for new parcels. For ferns, the best place to grow is an area of the garden where plants can be in partial shade.
The soil for plants should be loose, fertile, moisture permeable. You can buy a special soil mixture at a garden store or make it yourself from leafy soil, sand and peat (ratio 2: 1: 1). For indoor Polypodióphyta, a drainage layer is poured onto the bottom of the pots. Moisten the soil before transplanting plants.
The soil in a pot with a plant that is going to be planted is moistened 2 days before transplanting. The procedure begins by turning the container with the fern on its side and starting to roll it on a flat surface, thus separating the earthen lump from the walls of the pot.
Holding the plant with one hand, the pot is turned upside down, the bush is pulled out along with a lump of earth with rotational movements. Examine the condition of the roots, rosettes. The bush is divided in such a way that in each division there are 2-3 rosettes with well-developed roots and growth buds.
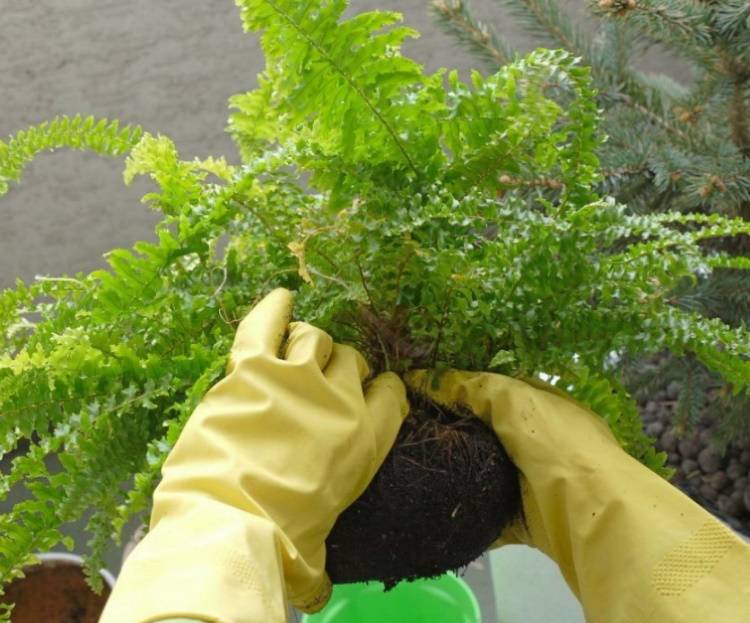
Splitting the bush
How to propagate indoor fern by spores
Many growers treat Polypodióphyta spores as seeds of common indoor and garden flowers. Spores in different fern species mature at different times. A sign that spores can be used as planting material is a change in the color of the sporangia to brown or brown.
The sporangia, together with the spores, are cut from the frond and placed in a paper bag. Sowing can be started after the spores are completely dry.
For planting, shallow planting boxes and pots with drainage holes or a layer of expanded clay, small pieces of foam are prepared. A soil mixture is placed in boxes with the addition of coarse-grained river sand, leaf earth, and peat. Spores can also germinate well in violet soil.
The soil is well moistened a few days before planting. Before planting, the earth is tamped, the spores are placed on the surface of the soil, they are not sprinkled with anything.Transparent caps made of plastic bags are put on the planting containers or covered with pieces of glass, that is, conditions for mini-greenhouses are created. From time to time, the soil must be moistened, the boxes must be ventilated.
The spore germination process is very long. The first stage in the development of spores is the appearance of moss-like outgrowths. The root system will begin to form in a few weeks in the formed embryo, and until then the germs receive moisture and nutrition through the rhizoids - the hairs formed on them after spore germination.
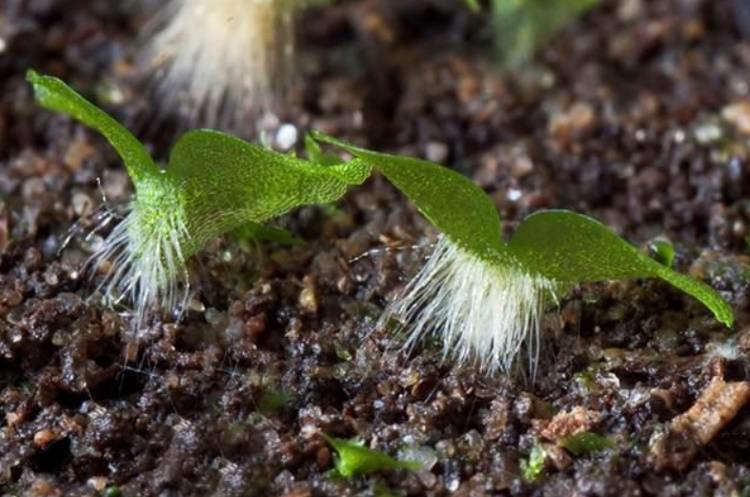
Rhizoids in the lower part of the outgrowth
Fast fern breeding process
Ferns can be quickly propagated by separating brood buds and side shoots.
The side shoots are the thin whiskers that the fern forms along with the fronds. Their purpose is to provide the main plant with nutrients. The plant is capable of multiplying with a mustache on its own. When in contact with wet soil, shoots grow into it, taking root. Shoots take root within a month. They are separated from the mother bush and planted in specially prepared pots.
Brood buds are formed in some species of Polypodióphyta in the axils of leaf petioles. Under natural conditions, they fall off, take root in moist soil. At home, the frond with brood buds is bent to the ground, pinned with a V-shaped mount, sprinkled with moist soil. The buds release shoots. When 3 young leaves are formed on the shoots, they are seated in individual containers.

Brood buds in the axils of the petioles
Sprouted fern care
Young plants are provided with diffused lighting, optimal air temperature, regular irrigation with settled water, and top dressing.
The bush on the south side of the house will suffer from sunburn, and in the shade it will change the color of the wai to a pale green. The best option would be to place the plant so that the sun hits it in the morning and evening, and in the afternoon it is in partial shade.
In the room where Polypodióphyta is located, the air humidity is maintained within 70%, if necessary, humidified. The air temperature should not fall below 16 ° C and rise above 23 ° C.
Tropical plant species are fed with a special complex fertilizer for ferns twice a year - in spring and autumn, cold-resistant only in spring. Watering is carried out after the topsoil dries up.
Ferns will never bloom either in an apartment or on a personal plot, no matter how well they are looked after, because they are simply not capable of this. But their wonderful thick cap of openwork leaf-like shoots will decorate a garden plot, an apartment, and an office no worse than a flowering shrub.